Start seedlings for your spring-summer vegetable garden
Get a jump start on your spring-summer vegetable garden. Start growing seedlings indoors now to have young plants ready to go into the ground when the weather warms and there is no longer a threat of frost. Growing vegetables from seeds is a passion for many avid gardeners, but even a novice gardener can have fun and success with a little planning and effort.
While growing vegetables from seed requires a little bit of extra work, germinating your own seeds gives you access to a wider variety of vegetables than typically available from a local nursery. Many gardeners love experimenting by growing exotic or unusual flavors, colors, size or texture of their favorite edible.
What you will need:
- Seeds
Growing healthy seedlings starts with healthy and high-quality seeds. Make sure to purchase seeds from a reputable supplier, and read the instructions and recommendations on the seed packets for specific planting instructions.
Keep in mind that if you save seeds from your own garden, the plants they produce in the future may not be identical to their parents because they are a result of random open pollination. When saving your own seeds, clean and dry them and then place them in a container that will keep them dry. Store seeds in a cool location. - Germination mix
To start your seeds off right do not use garden soil or potting mix. Potting or garden soil it is too heavy, not sterile and does not drain well. It is recommended to use a germination mix that is a combination of one-third sterilized sand, one-third vermiculite and one-third peat moss which allows for air to circulate and is able to hold moisture, but still drains well. - Container
There are a variety of container options available for purchase, including flats or trays with dividers, or you can use small individual clay or plastic pots. It is also possible to use recycled items found around the house, like milk cartons, toilet or paper towel rolls, and plastic containers from yogurt to name a few. It is important to wash all containers thoroughly and soak and rinse in a solution of 1 part chlorine bleach to 9 parts water, to help prevent diseases from occurring to your delicate seedlings.
- Light source
Edible plant seedlings typically need a bright light source to develop into healthy plants. Oftentimes, indoor seed germination requires more lighting than what is available from a large window. When more light is needed, suspend fluorescent lights 6 to 12 inches above the seeds for approximately 16 hours per day. After the seeds have germinated, move the seedlings to a cool, south facing window with plenty of natural light. Check seed packets for specific germination tips for individual species. - Heat source
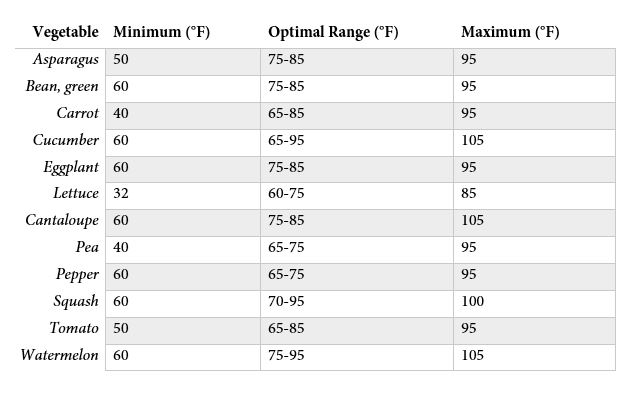
Most seeds have a minimum and maximum optimal temperature at which they germinate, check seed packets or catalog for recommended germination temperatures. Temperature is extremely important in having the highest germination success (see table). Most edible plants germinate faster in warm soil (75°-85°F), to provide a consistent heat source a heating mat can be used. Once seeds have sprouted the seedlings prefer slightly cooler temperatures so a heating mat is no longer needed.
Soil temperature conditions for vegetable seed germination, from the California Master Gardener Handbook (table 5.2):
- Water
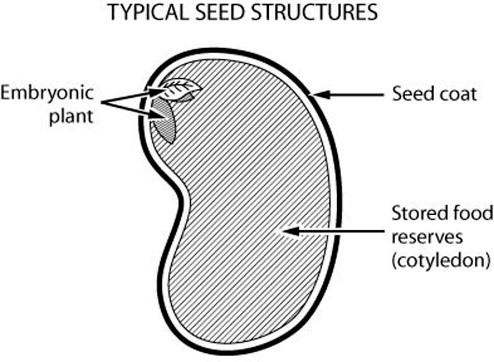
Germination begins with the seed absorbing water. An adequate, continuous supply of water is needed to ensure successful germination. Once the germination process has begun try and avoid any dry or overly wet periods that may cause the young seedling to die.
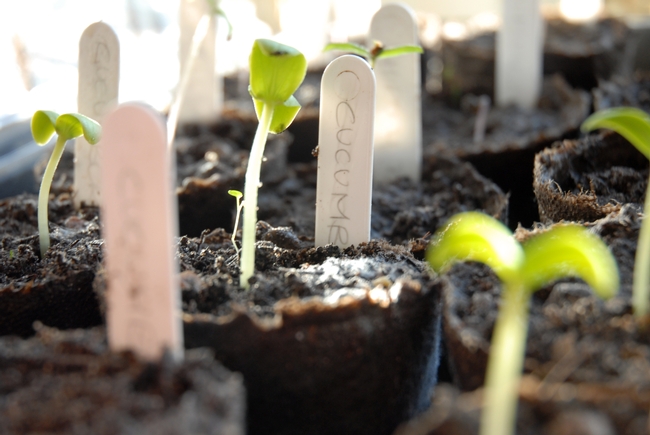
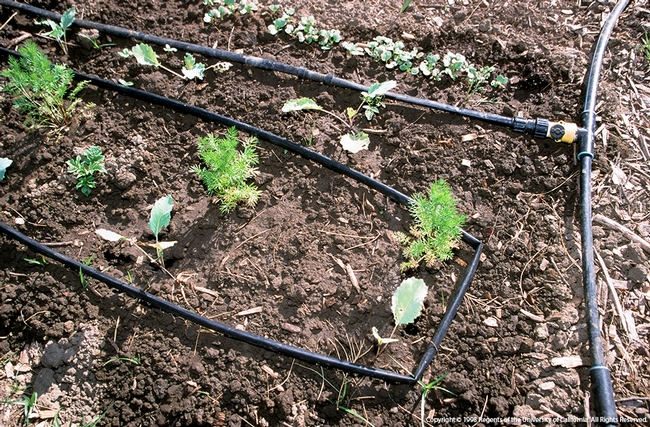
After experiencing the wonder of watching a seed turn into a mature seedling it is time to transplant. To transplant, carefully dig out and lift the small plant out of its container. Prepare its new desired location by making a hole the same size and depth as where the seedling was growing, once placed firm the soil and gently water. When possible keep the newly transplanted seedling out of direct sun and heat for a few days.
Learn more with the UC Master Gardener Program
Interested in learning more about how to start seedlings or how to grow an edible garden? The UC Master Gardener Program has University-trained volunteers who are eager to help. Volunteers are available to answer questions about preparing your soil, fertilizing, mulching and more. With local programs based in more than 50 counties across California there is sure to be a workshop or class near you. Visit our website to find your local UC Master Gardener Program, mg.ucanr.edu.
Resources:
California Master Gardener Handbook, Plant Propagation, page 112-118, anrcatalog.ucanr.edu
California Gardening Web, Vegetables & Sustainable, How do I start seeds indoors?


Posted by Lynetta McElroy on March 1, 2017 at 8:51 AM